My sister has always laughed at the fact that I have a favorite fabric.
But how can you not love linen??
It’s perfect for historical clothing.
But it’s also perfect for everyday wear.
Some of my favorite me-made pieces are linen, like this dress I blogged about the other day.
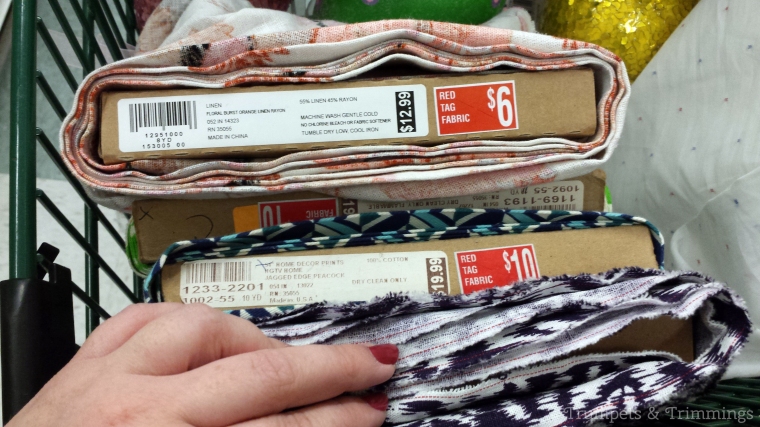
My tip for finding great-priced linen? Look at your local thrift shop! I’ve found numerous lengths of linen (3-4 yards!) over the years for around $5 apiece (silk too!). Just don’t be afraid to dig into the bins and have fun hunting.
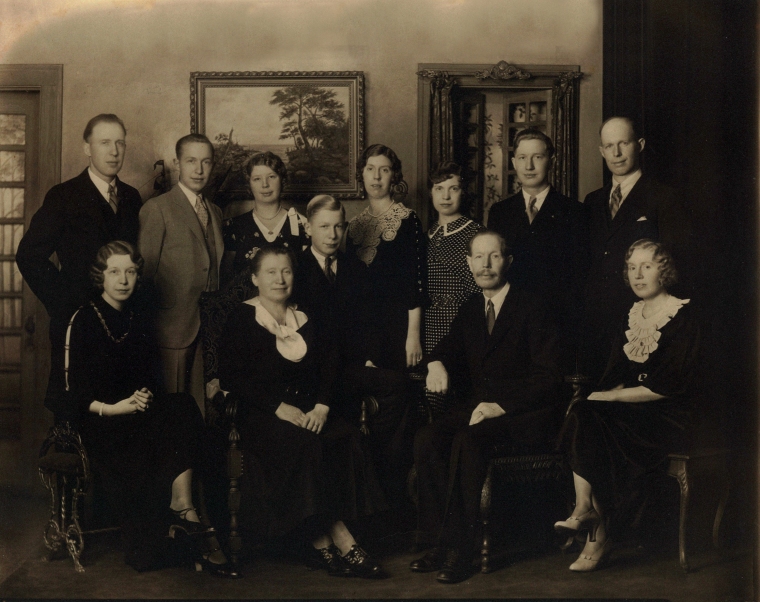
One of my favorite things about genealogy is coming across pictures of my ancestors. It’s amazing to see what my family members looked like and what they wore generations ago. They give me a peek into my past and offer plenty of inspiration for the fashion of days gone by.
I’ve shared some of my favorites below –
I have the physical copy of this photo of my great grandmother on my bookshelf.
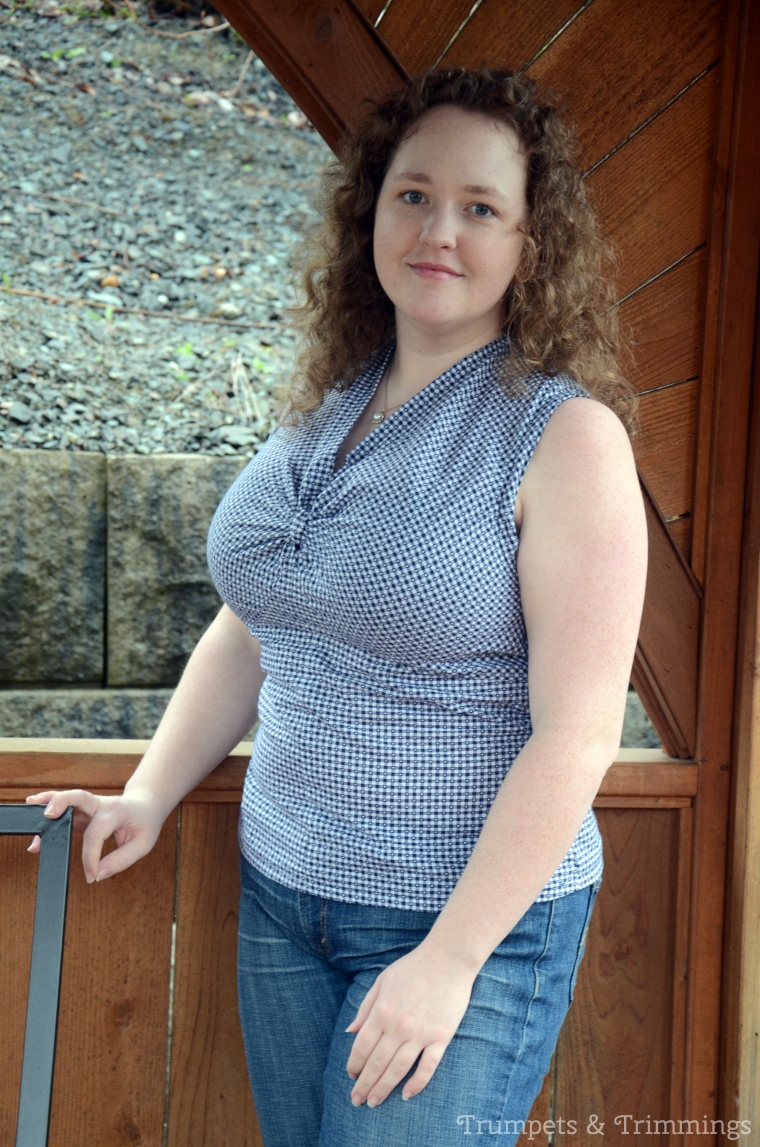
I had so much fun doing it! And the blouse turned out so well!
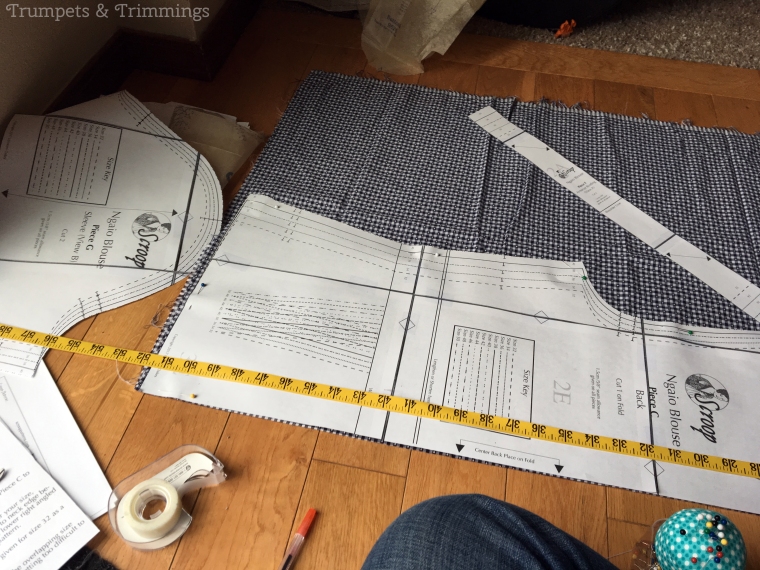
I made one out of checkered cotton…
And another out of sateen!
I used a test pattern for these and there’s a newer version published, but I was super impressed with the fit. One of my favorite things about this pattern is that it comes with different cup sizes (I used the “Large Bust” pattern pieces) which makes it really easy to fit to my body.
I wear these all the time and can’t recommend this pattern enough!
I made it out of some beautifully-printed linen fabric that I picked up at Joann’s on major clearance last spring.
Red-tag sale so it was really $3/yard.
I picked up a ton of fabric that day and had enough to make the dress + two sleeveless tops (one for me, one for my sister) after.
The pattern was super fun, quick, and easy to make. Intended to be a breathable, cool summer dress to bum around in when it really heats up here, it really lives up to its name. I wear it all the time!
It closes with four small vintage snaps and, when I made it I was really worried that it would pop open during the day. But I’ve worn it for two summers now and it’s never happened! Those tiny snaps are stronger than they look!
I like to cook, but I don’t often put much effort into breakfast. Usually it’s cereal. But there was one time last summer when I decided to make breakfast for my whole family.
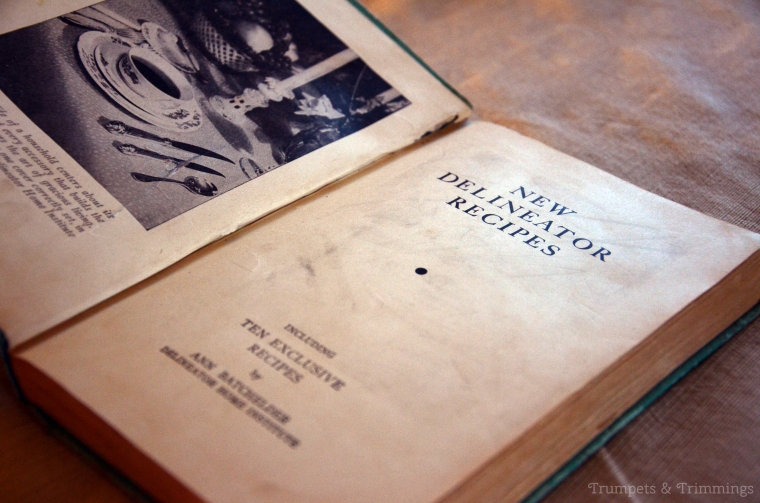
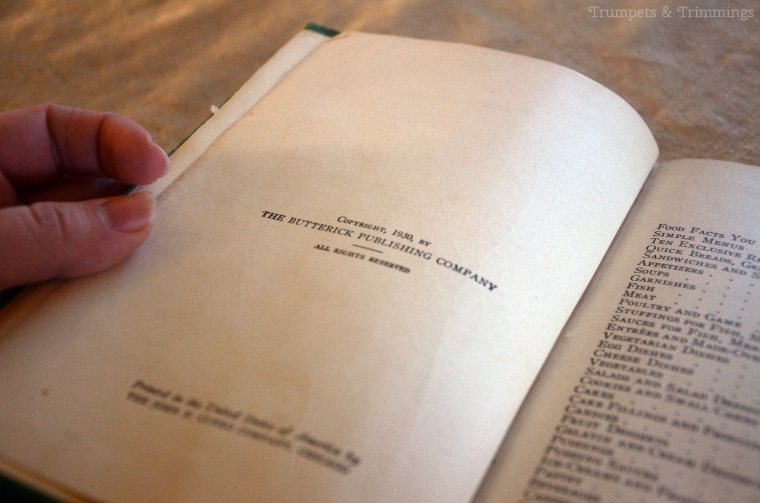
I chose one of my newer-to-me cookbooks, “New Delineator Recipes” (that I think I actually have two editions of).
This menu comes from the 1930 edition.
The menu reads as follows:
Baked Pears
French Toast
Maple Syrup
Coffee
Milk
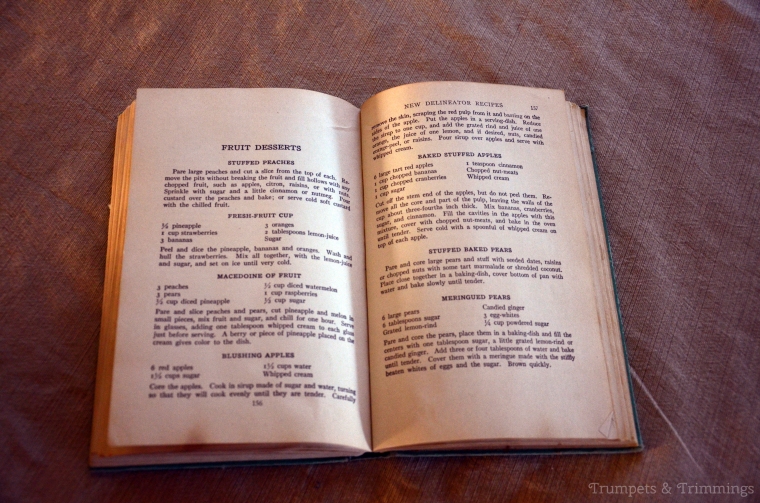
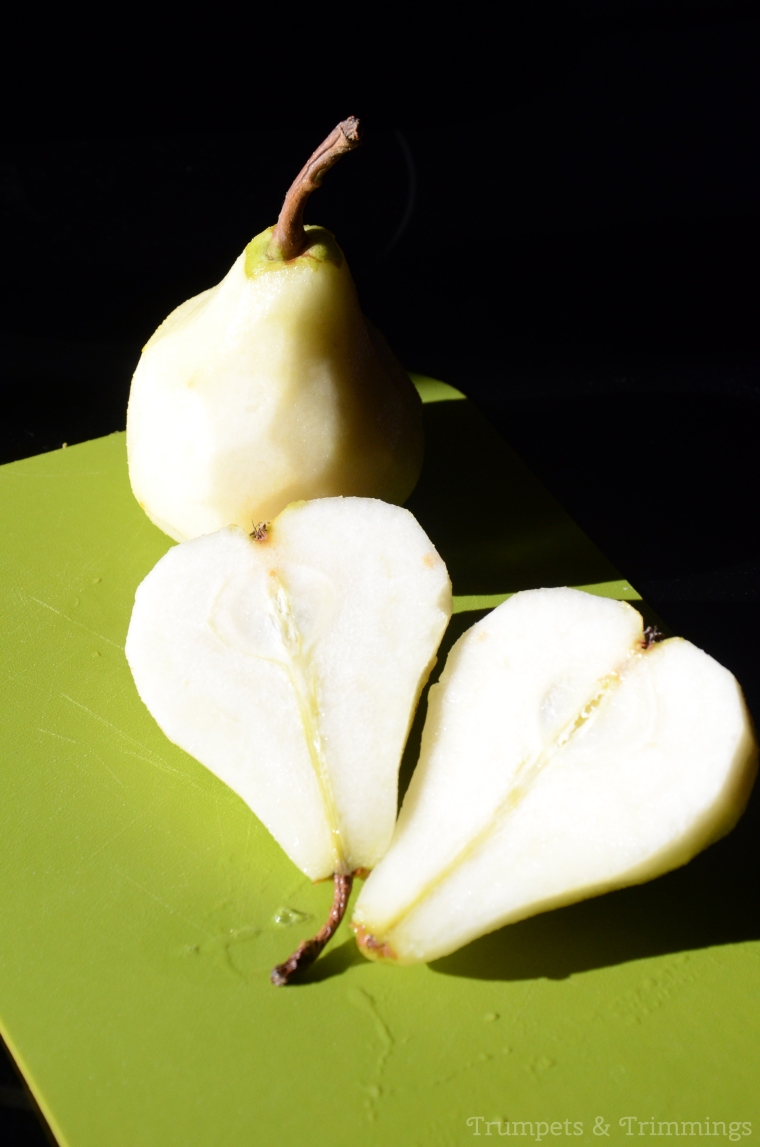
The stuffed pears recipe was in the dessert section and I thought Dessert for breakfast?! Sign me up!
Stuffed Baked Pears
Pare and core large pears and stuff with seeded dates, raisins or chopped nuts with some tart marmalade or shredded coconut. Place close together in a baking-dish, cover bottom of pan with water and bake slowly until tender.
To make it a little easier on myself, I simply halved the pears and filled the core with ginger peach jam and chopped peanuts.
French Toast
12 slices of bread 1/2 inch thick
3 eggs
2 cups milk
1/2 teaspoon salt
Powdered sugar
Beat the eggs, add the milk and salt. Dip slices of bread into this mixture and saute’ in a little hot fat until a delicate brown. Sprinkle with powdered sugar and serve hot.
The pears didn’t take too long to bake – but I don’t remember exactly how long they were in the oven.
Even a year later, this is my favorite way to eat French toast – with powdered sugar! It’s delicious!
Some maple syrup and breakfast was complete! We all loved it.
I’d definitely make this recipe again – especially to try out different combinations of stuffing for the pears! What would you put in the pears?
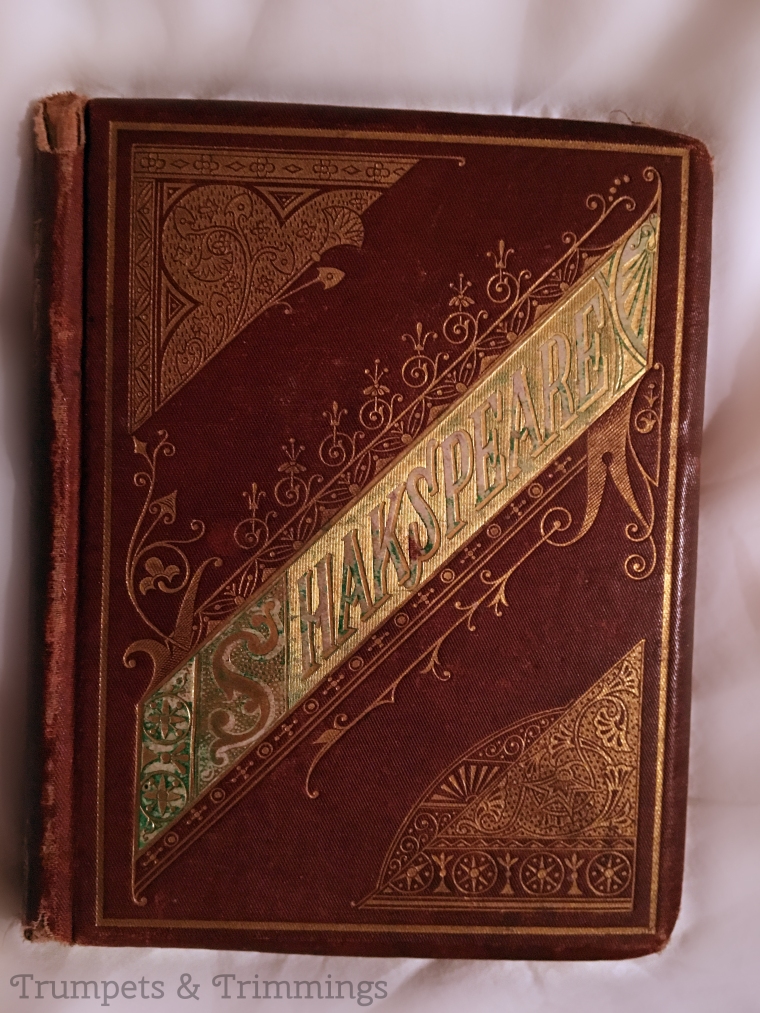
A beautifully decorated copy of “Beauties of Shakespeare” by William Dodd.
It was originally published in the 1750’s and has gone through many, many editions over the years. The one I have dates from the mid-19th century and has several special details inside.
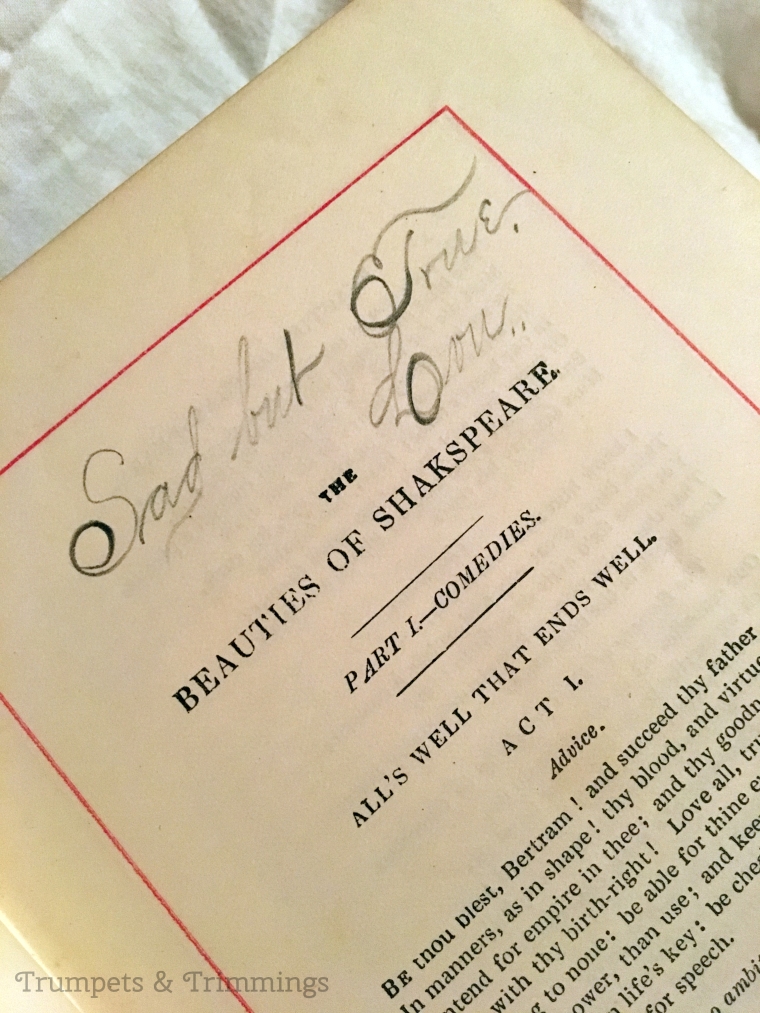
Little notes about Shakespeare’s writing…
Notes about Shakespeare’s life…
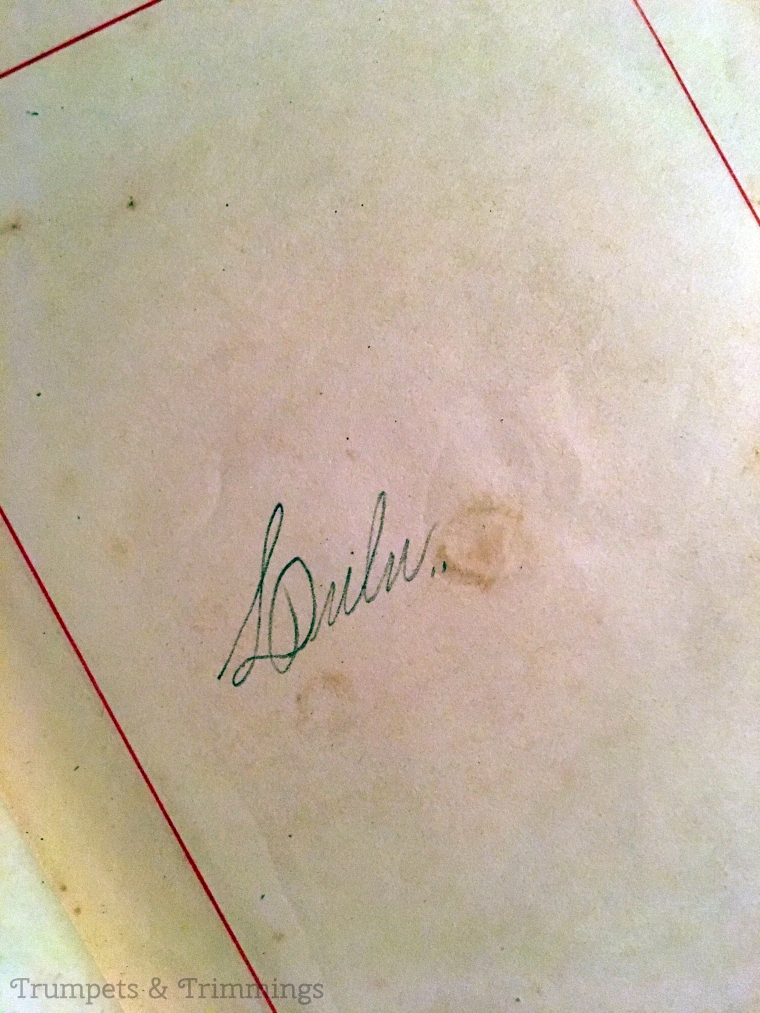
“Lulu”
Signatures from the students who used the book…
“Ben, J.M. Boggess, Bradford, 1881”
With some of the most beautiful handwriting I’ve ever seen!
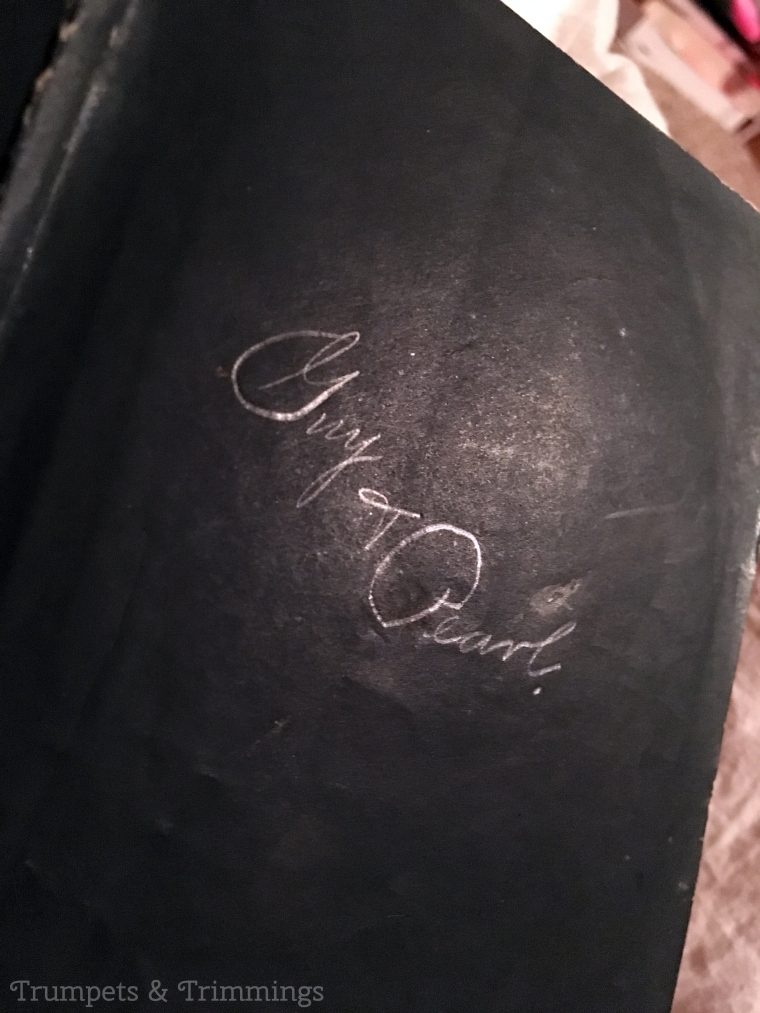
“Maggie Clancy and Lulu Hensley 1880”“Doug and Herman” — “Tis sweet to be remembered”“Guy & Pearl”
But the sweetest thing of all comes from these two: Guy and Pearl.
“Guy and Pearl. School of 81.”
They signed the book in multiple places.
And left such endearing love-notes in the back of the book that my heart melts every time I think about it.
Dear Pearl;
Never forget the school days of 1881. Alas, perhaps our last.
Yours lovingly,
Guy
And her response:
Guy;-
I never will.
Pearl
I picked up this book at a library book sale for 50 cents and, over the years, have dug as deep into the census records as I can to try to find anything I can about these people.
I triangulated most of the names in the book (ten in all) to a town in Illinois called Yates City. They were all born around the early 1860’s and one of them, Lulu, moved to Washington after her second marriage so I’m guessing that’s how the book got to Seattle.
The most frustrating thing, though, is that I can find nothing about Guy or Pearl. I’ve read the census records cover to cover for that town and nada. I’ve expanded my search to go beyond the state and still nothing! I’m still holding out hope, though, that someday I’ll find some tidbit about their lives. I’m dying to know!
If you’re curious, I’ll list some information about the students under the cut:
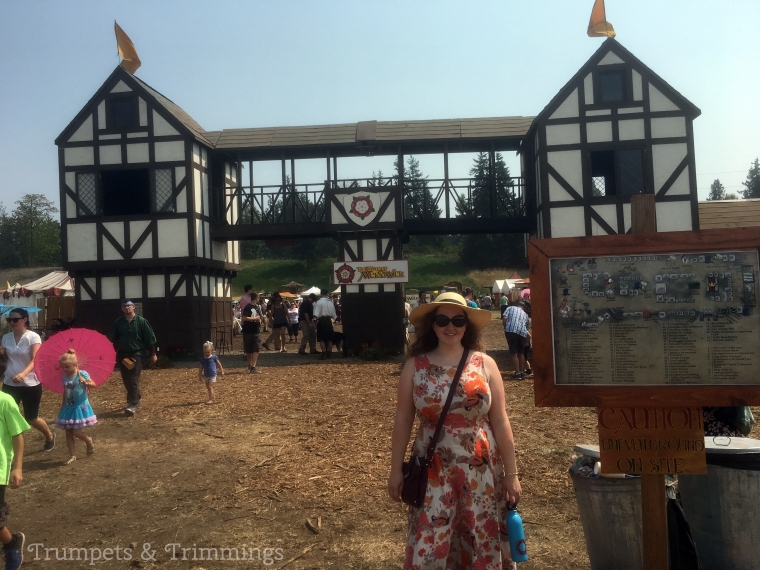
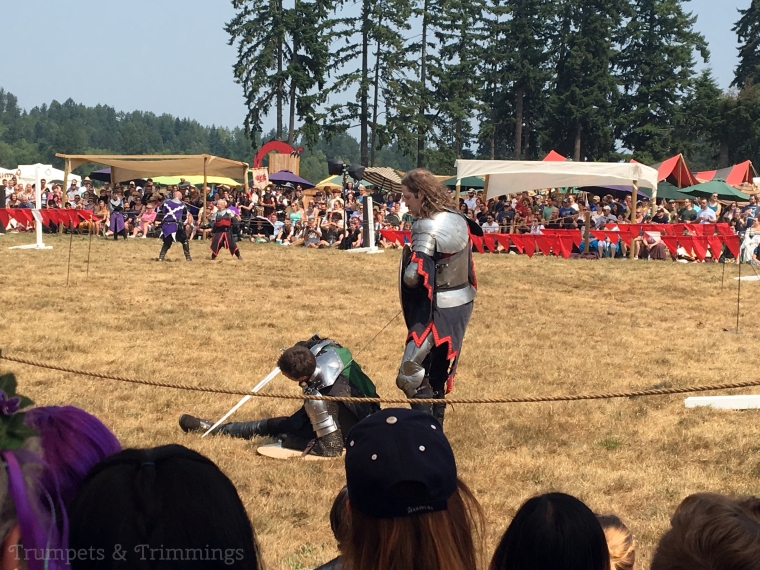
The closest Renaissance Fair is an hour and a half away from me. I’ve wanted to go for several years now, but couldn’t ever seem to make it work. Today, however, I finally got to go!
As they say at the fair, huzzah!
I had a lot of fun perusing the shops, sampling the food, listening to the music, watching the shows, and rooting for the green knight.
Unfortunately, he didn’t do so well…
But fortunately for me, I found something to add to my Renaissance ensemble that I’ve been searching for for quite a while now.
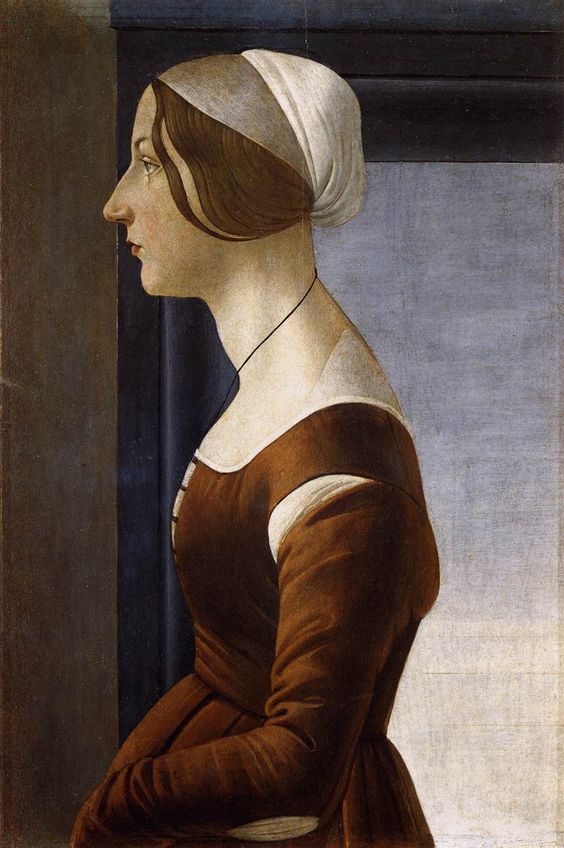
Portrait of a Young Woman c. 1475 Tempera on panel, Galleria Palatina (Palazzo Pitti), Florence Botticelli.
When I made my pink Renaissance dress I based some of the design on the portrait above and what intrigued me about her outfit was that she seems to be wearing a necklace on a black cord.
— Portrait of Maddalena Doni, 1505, Oil on wood, Palazzo Pitti, Raphael. — Portrait of a Young Woman c. 1490 Oil on poplar Staatliche Museen, MAZZIERE. — Portrait of Giovanna Tornabuoni, 1488, Tempera on wood, Museo Thyssen-Bornemisza, GHIRLANDAIO. —
Some more research turned up these three images which showed slightly different views of ladies with pendants on black cords, wearing outfits ranging from the everyday to the grand.
Of course I had to have one for myself!
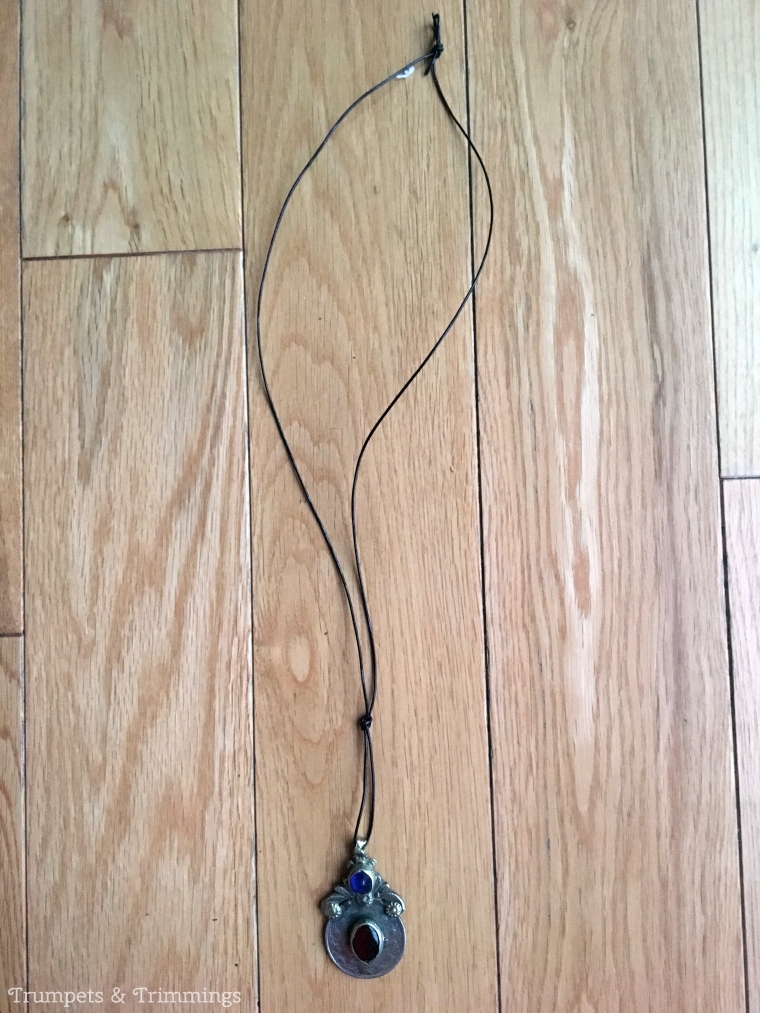
I picked up the black leather cord from Jo-Ann’s for about $2 months ago and have been searching for the perfect pendant ever since. Well, I happened upon the one in the picture tucked away in the back of a tent today at the fair. It’s mounted on an old coin and has a substantial weight to it.
DOMENICO GHIRLANDAIO (1449 – 1494) | Portrait of Costanza Caetani – 1480/90. The National Gallery, London.
I bought it for $6 and brought it home to mount on the cord. Since there seems to be multiple ways to tie the cord, I went with the way the lady above seems to be wearing hers.
Just slip the pendant on, measure the length of the cord, tie a knot at the back of my neck, then one more about two inches up from the bottom. Easy peasy!
This is how long it hangs. Long enough to slip over my head and tuck into my dress if I want.
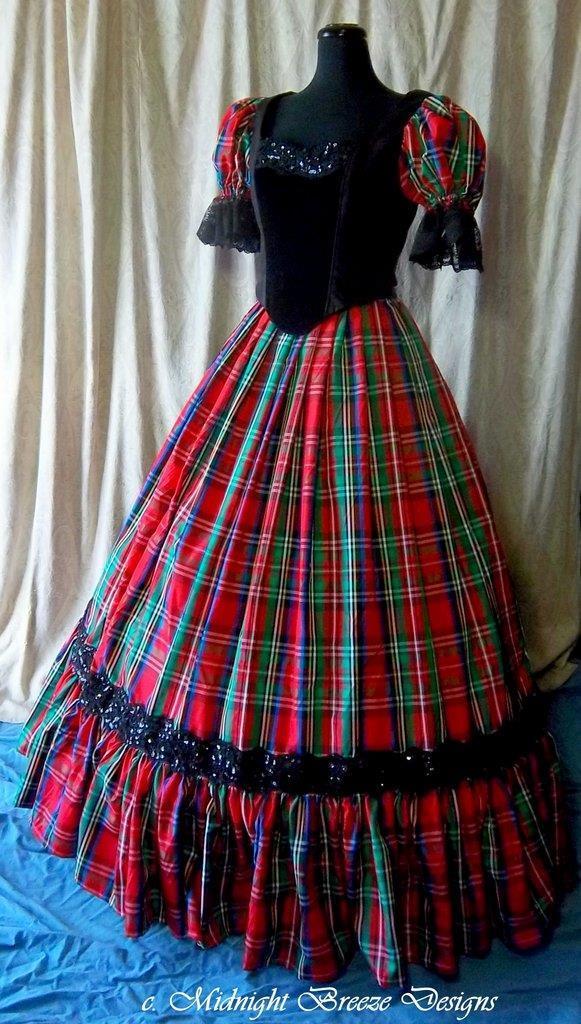
Except the bodice was floral, it was attached to the skirt, and there was white lace around the sleeves and neckline that I later re-purposed for my Edwardian corset.
I wore it for a few Halloweens and then for a couple of school functions that required a costume and I loved every second of it.
Then I started getting more and more into historical costuming and I couldn’t help but think about ways to improve on the design.
This was one of the earliest sewing projects I did. I saved up my money to buy an actual pattern (my very first one) that was era-appropriate. After I saved up to buy my first corset, I pulled the pattern out of it’s place of honor and cut into the dress.
I tore the whole thing apart and cut a new bodice out of one of the skirt panels.
This was before I had a sewing machine so I spent night after night carefully cutting, pinning, and hand-sewing before bed.
To this day, it’s not quite finished.
But that didn’t stop me from dressing my sister up in it and taking lots of pictures over the years!
It doesn’t have any fastenings on the bodice, so it’s held together by pins.
And I’ve since made proper under-sleeves (she’s wearing an old button-down shirt underneath in the pictures).
But this dress will always hold a special place in my heart. It helped ignite my passion and, although my enthusiasm for the Civil War era has slightly waned over the years, I’ll always remember it as my very first historical costume.
So I actually own very few antique garments. I don’t have much space for storage, so it’s not something that I seek out…
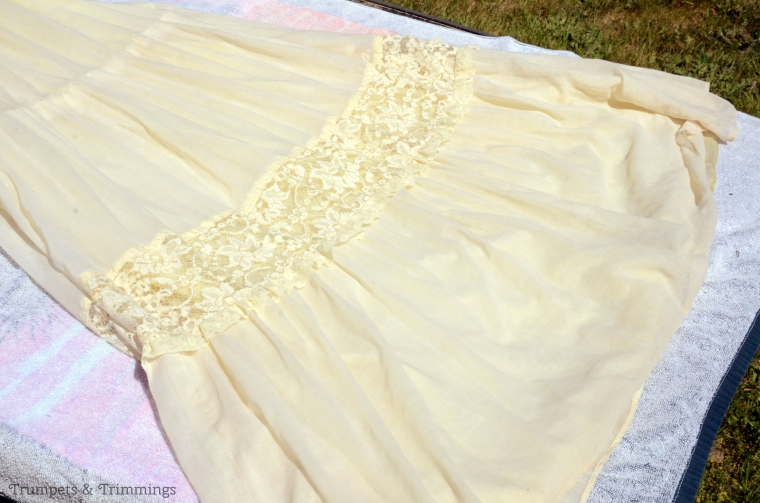
But when something like this Edwardian gown jumps off the rack at me, how can I say no??
I bought this dress almost three years ago, now, and didn’t know what to do with it for quite awhile. I was so scared I’d somehow damage it, that I just tucked it away in my trunk until I could do some research on how to properly clean antique linens.
The dress is in really good shape – no major holes or tears and the fabric is strong. The only thing is that elastic around the neckline has lost some of its elasticity.
There are a couple of noticeable stains towards the bottom of the dress.
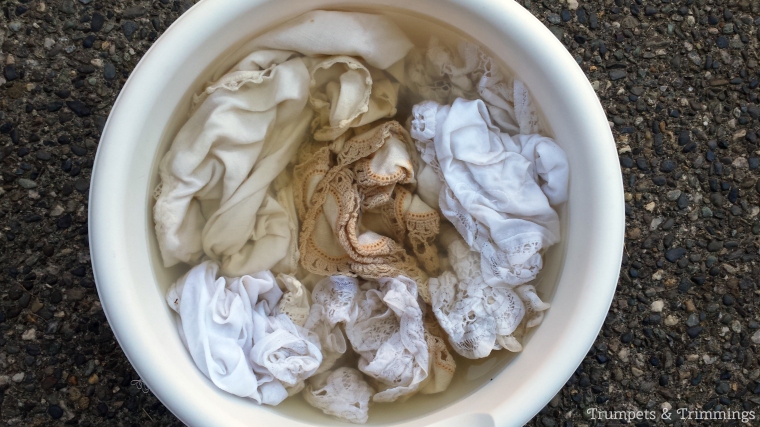
Particularly at the hem. So I knew I would need to clean it sooner or later so I could pack it away and store it properly. After doing lots of research on the best way to clean antique garments (opinions vary quite broadly), I picked up a bottle of Woolite Extra Delicates and filled the tub with lukewarm water.
Holding my breath, I carefully laid the dress on top of the water and pressed it down evenly. I let it soak in the water for several hours, refilling the soap + water a couple of times before rinsing it very, very clean.
Then I rolled it carefully up in a towel to wring out the excess water and carried outside.
So it could dry completely in the sun.
The stains came out of the bottom!
And the dress made it through the whole thing in great shape! It’s been carefully packed away now for a day when I have more space and can take it out to examine it more closely.
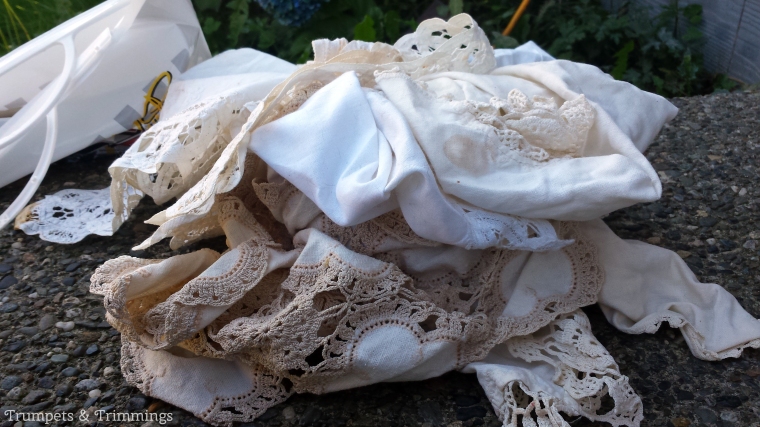
The dress taught me a lot about the careful laundering of vintage textiles, though, and I’ve used the same method on other linens since then with similar success.
It’s always surprising to see how dirty the water is! The fabric always looks so clean at first!
On a related note, I recently bought a bag of Retro Clean after seeing some great success stories on Instagram. I’m really eager to give it a try. Has anyone tried it before? If so, what did you think of it?
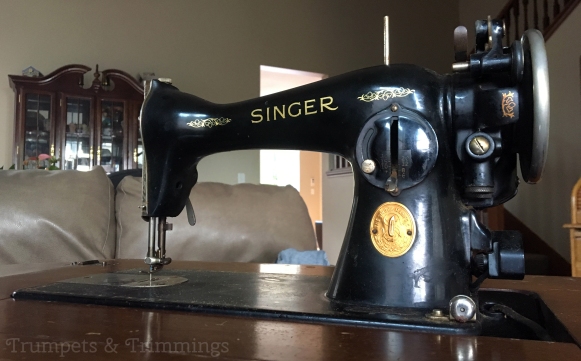
I found her tucked away in the back of a Goodwill (thrift shop) for $99 where she had been mislabeled an “end table.” I snatched her right up (and even got half off the price at the register) and prayed that the piece of tape that said “still runs” was true.
When I was cleaning her and giving her a tune-up, I relied heavily on some really great blog posts that gave tips and pointers. I’ll link some of them at the bottom, but I’m also going to go through what work I did on Frankie in the hopes that my experiences will help at least one person out there that has a ’34 Singer of their own to work on.
To begin, this is the shape I brought her home in. Dusty and stained with age, but all the parts were there and there wasn’t any major damage. Plus the decals were in pretty good shape, too!
These were the products I used for cleaning:
Compressed air
Flitz Polish (metal/plastic/fiberglass polish)
Sewing machine oil (Singer brand)
Pledge (furniture polish)
Microfiber cloths
Water + dish soap
Cotton swabs
Steel wool
Gun-cleaning cloth (infused with “rust and lead remover”)
The first thing I did was gently spray dust out of the interior of the machine, out of the cabinet, and then lightly dust off the cobwebs with the microfiber cloth.
After that, the real work began.
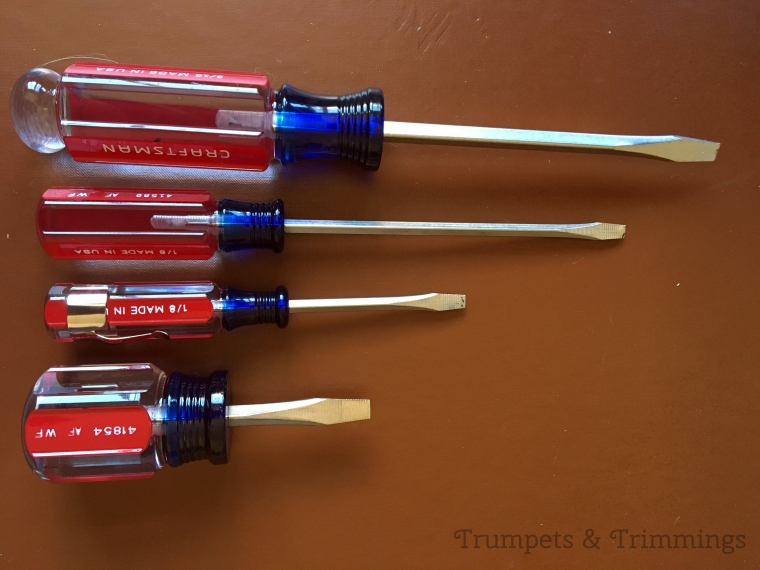
Using a flathead screwdriver (lots of different sizes help), I took the metallic parts of the machine off one piece at a time and cleaned them.
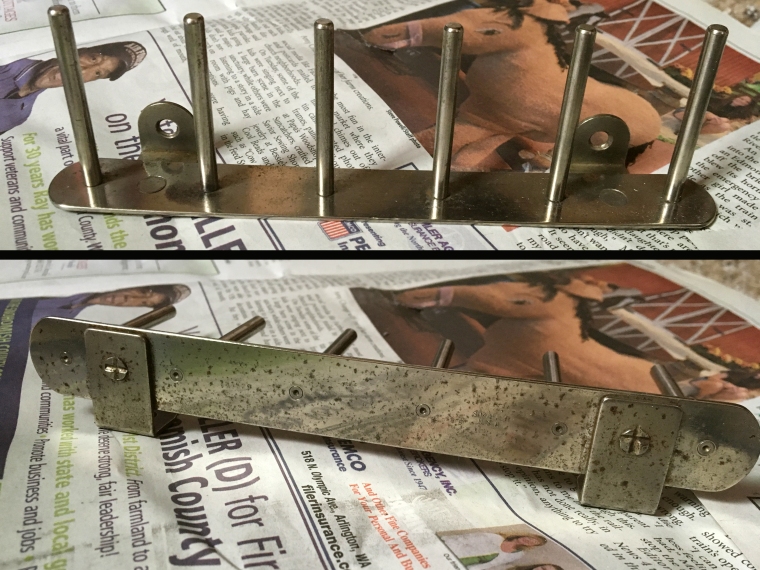
Before
Steel wool + elbow grease took off most of the rust and grime, except for some deep pits. Then a good polish with the Flitz restored a lot of the shine.
After
The two-step process worked really well on all of the silver metal parts, even the decorative plates.
BeforeAfter
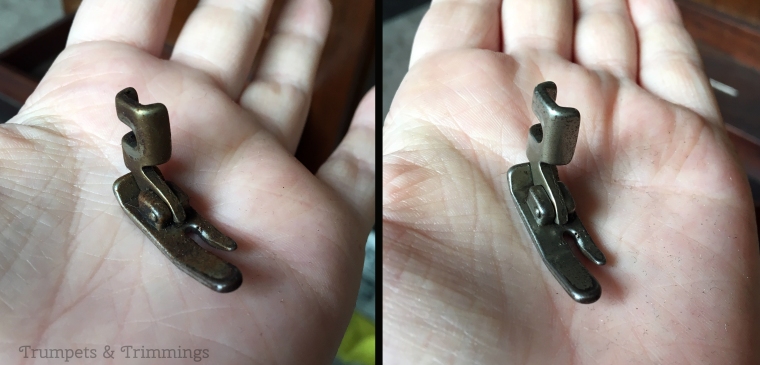
For less-shiny pieces, like the feet, I used just steel wool.
Before & after
The steel wool got the rust and grime off and didn’t aggravate the areas where the plating had worn off from use.
For the black body of the machine, a.k.a. the non-mental parts (which I learned is called japanning), I followed the advice of the tutorials I’d read and used mild dish soap + water to get the grime off. I tried out the gun-cleaning cloth, but it didn’t blow me away so I stuck with the suggested few drops of sewing machine oil to polish it and bring back most of the shine while leaving the decals intact. Cotton swabs worked very well for getting in the nooks and crannies. Just be careful not to rub too hard or you’ll take off the gold.
The basic mechanics of the machine are surprisingly straightforward. If you’re nervous about fiddling around with the inside, don’t be! It makes a lot of sense once you slow down and take a look.
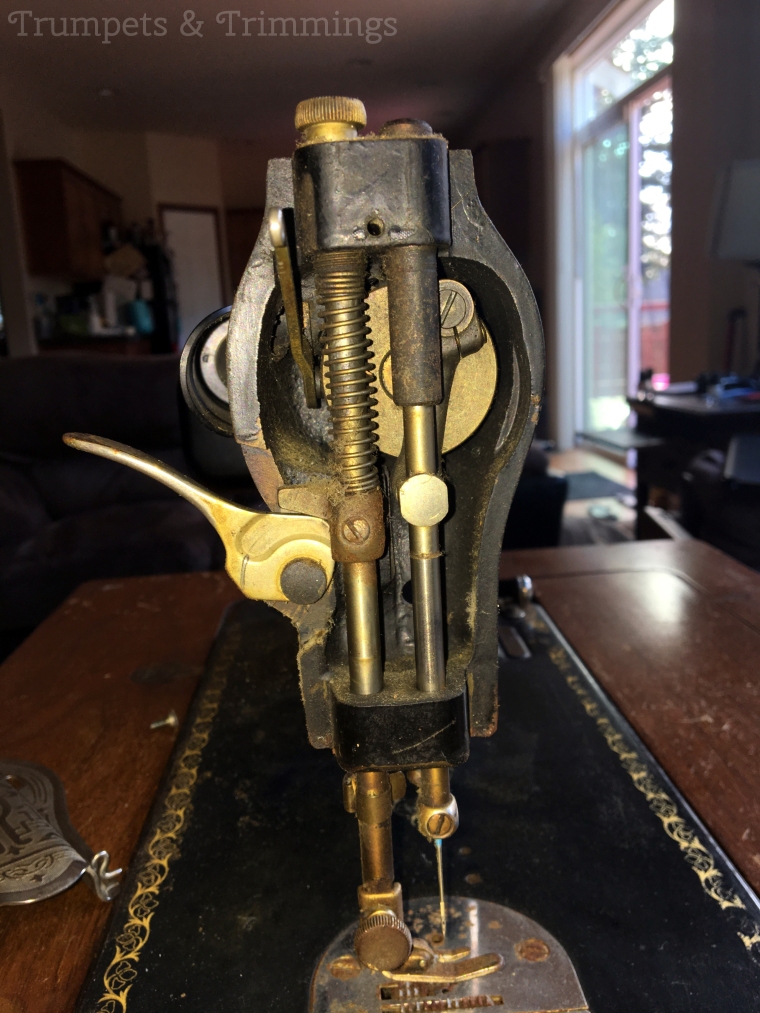
My machine had an issue with the presser foot – it wouldn’t raise or lower when I moved the lever on the back. Opening it up, I applied some penetrating oil where the presser bar (the one on the left) goes through by the body of the machine and waited half an hour. It didn’t help; the foot still didn’t budge.
So, at the advice of my father, I placed a brass screw-type-shape thing (it’s apparently softer metal, so it won’t ding anything) on top of the bar and tapped it lightly with a hammer until it freed. Then I worked some sewing machine oil into the joints and it’s moved freely since then!
The next step was to oil all of the moving parts machine with sewing machine oil at the suggestion of the original manual (see the bottom of the post).
That whole thing was the dirtiest part of the whole job!
At this point I plugged the machine in and held my breath, hoping that it would go.
Well, it went…very, very slowly.
The first thing I looked at was the pedal. I opened it up, following a really helpful guide I found online (see bottom of post for link), and found that there was a small brass piece missing and another piece had been inserted backwards to compensate for it. The piece was like a nut, but it also apparently completed the electrical circuit inside the pedal itself.
I started looking at pedals to buy online so I could get a replacement part, but my dad had the idea to open up the “extra” motor that was mounted inside the cabinet that was attached to the knee pedal. Sure enough, it had the missing part inside! Since I don’t plan on ever using the knee pedal (the wires are badly frayed) I swapped it over to the foot pedal and gave it another try.
It still ran extremely slowly.
So it was time to take a closer look at the electrical guts of the machine.
One of the features of this model was that it offered a built-on motor, apparently called a “potted motor,” instead of a separate one that sat at the back on the base. If you take the cover off, this is what it looks like – I was very scared to touch it.
But I had to figure out why it sewed so slowly.
I found an original troubleshooting guide online (see bottom of post) and started going through step by step taking the motor slowly apart to make sure all of the pieces were working okay. All of the wiring looked perfect, so it was difficult to figure out.
One of their suggestions was to take out the brushes (one on top and one on bottom, under big, black screws) to make sure they’re still good. I got about this far and then took a break for the night. It was a lot of intricate work navigating around the motor (you even have to take off the wheel to get at the good parts) so I spent rest of the evening browsing the web for replacement motors, just in case.
Well, one of the things I noticed while browsing spare parts was that the new brushes (on the left, above) were square on the bottom. The ones in my machine were very curved (on the right, above). I had thought they had been designed like that on purpose, but the website got me thinking. I ordered two new ones for a much better price ($15.89, including shipping) than buying a new motor (~$80, not including shipping).
New ones!
A few days later, I popped them in and gave it another whirl.
Success!
The machine runs perfectly now.
The brushes are needed to complete the electrical circuit, so the worn ones weren’t making enough constant contact to keep the machine going at its regular pace.
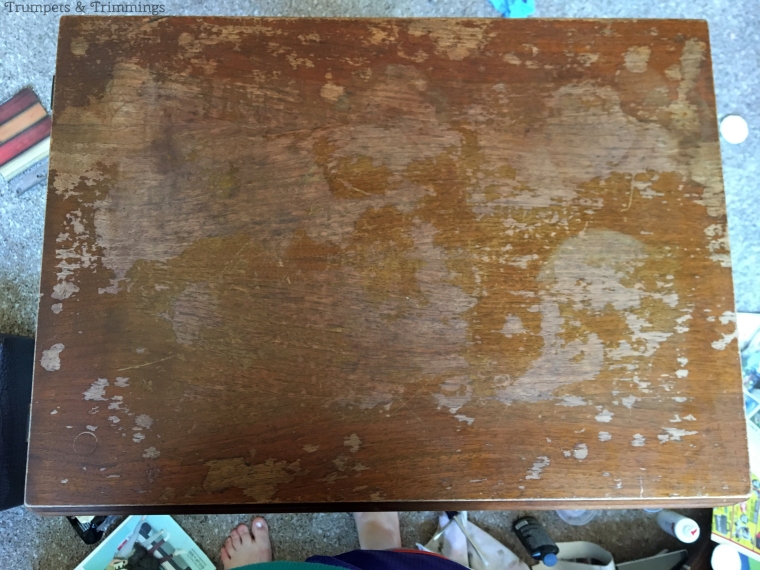
As for the cabinet, the top needed a lot of work. Apparently, it had been sitting a long time with a doily on top, and possibly some potted plants, judging by the circles where the finish came off.
Before
I started by going over the whole thing with furniture polish. Much to my surprise, it took the dark shadow totally off the top. What I had thought was deep discoloration was actually just a thick layer of grime!
This is now it looks now. I’m still doing some research on what it takes to refinish the top, so it’ll stay like this for the time being. The wood is very soft.
The rest of the cabinet is in much better shape, save for some nicks and small water stains. I tried out a couple of wax/marker “furniture-fillers” but I couldn’t find a matching color so I didn’t go forward with any of the products I tried.
And that’s what I did to restore Frankie and get her into good working order.
So, on to some bonuses!
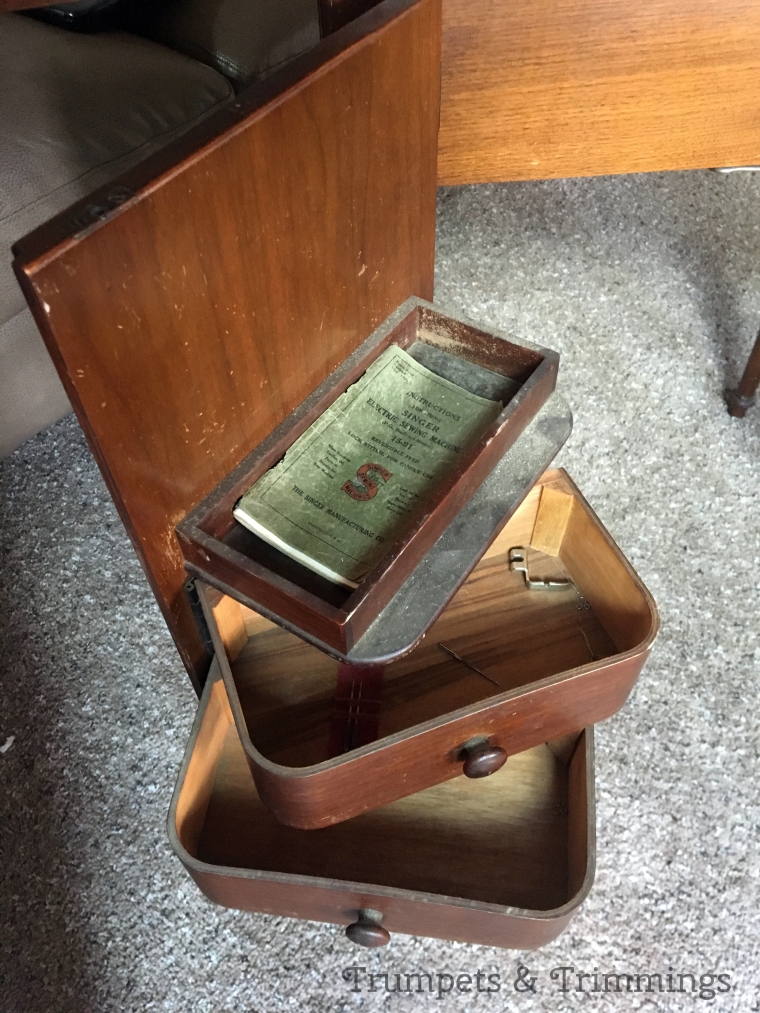
Inside the cabinet is a set of drawers for storage that held a few treasures. Namely, the original operating manual! Oh my gosh, I was so excited when I saw it. It was a real help to have on hand when I was oiling the machine and threading it.
There were also a couple more surprises in the drawer: a very skinny foot (zipper?), some machine needles, and spare pins.
Strapped in underneath is the original bottle of oil, still half-full.
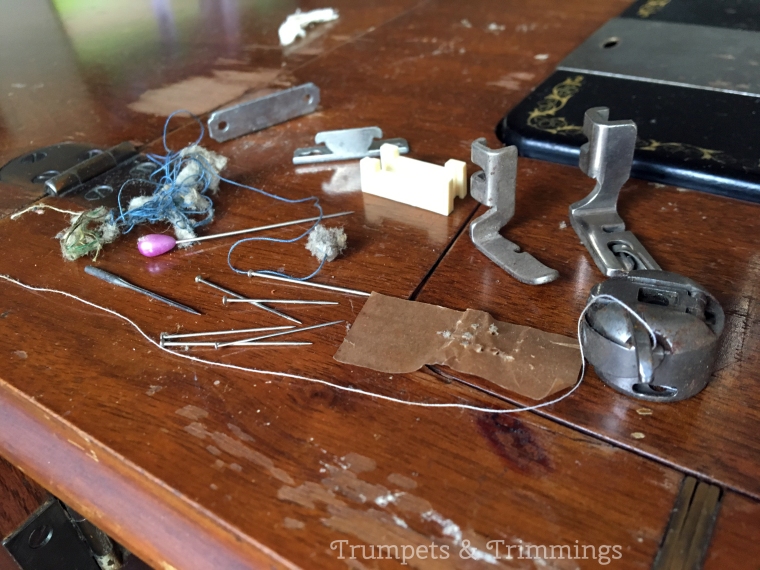
And I had even more of a surprise when I tilted the machine back to dust underneath it and found a lot more goodies inside! A couple more feet, more pins, needles, some scraps of old projects, and the bobbin case with a bobbin in it!
I don’t know what the previous owner was sewing, though, because there are half a dozen colors of thread wound on the bobbin.
Something I found amazing was how little the basic design of a sewing machine has changed in almost one hundred years. My modern-day bobbin is on the left and the 1930’s one is on the right in the picture above. The parts are so similar, in fact, that I’m able to use a modern-day bobbin in the vintage machine so I can leave the original intact with its myriad of threads.
And that’s it! It seems like a lot when I write it down, but it took only about a day and a half. I had a ton of fun working on it and definitely foresee more projects like this in the future!
This is what Frankie looks like now – all nice and shiny and running like a charm!
Now I get to pick out my first project to sew on her!
But, before I go, I promised to list some of the resources I found supremely helpful.